Fiber Cement Siding Installation
The material is only half the equation. The other half — the one that actually determines whether it lasts 10 years or 40 — is sequencing and fastening. Most of what goes wrong on a fiber cement job traces back to a step that got skipped to save half a day, not a bad batch of siding. This page is the full spec we install to, every time.
What Goes Wrong When Installation Is Rushed
The most common failures we get called out to inspect on Allen homes aren’t material defects — they’re sequencing shortcuts. Trim installed after siding instead of before. Missing flashing behind butt joints. Boards nailed without checking stud lines first. None of it shows up on day one. It shows up in year five or six, as cracking, gapping, or water damage that traces straight back to a step someone skipped to finish a day early.
What the First Day on Site Actually Looks Like
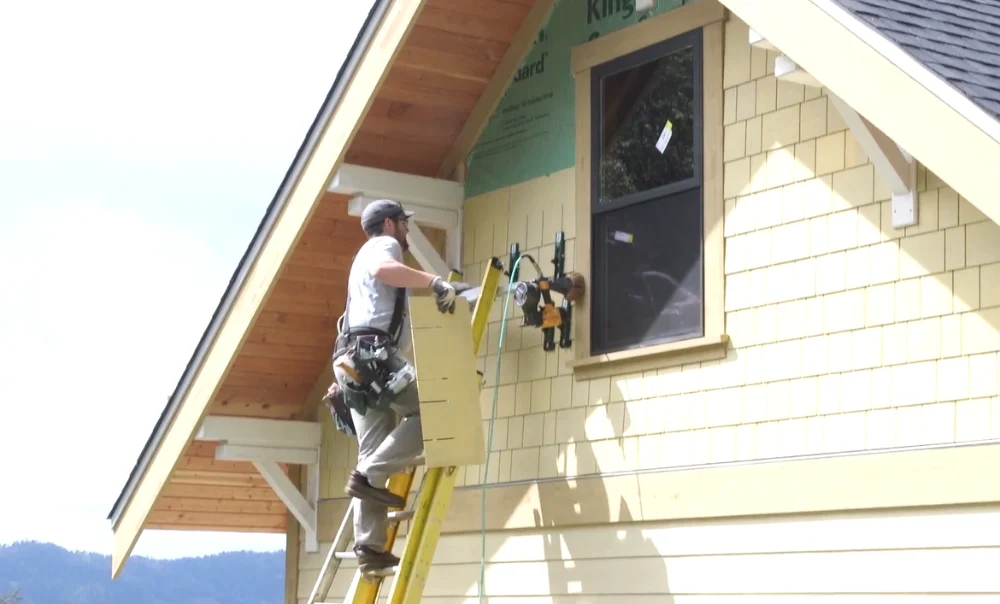
Before a single board goes up, we’re marking stud lines across the whole wall and checking the framing for anything that isn’t straight — a high nail, a warped stud, sheathing that’s slightly proud in one spot. It’s the least visible part of the entire job and also the part that determines whether the finished wall looks flat and clean or telegraphs every imperfection underneath it. Homeowners sometimes ask why day one doesn’t look like much progress. This is why. Getting the wall right before anything touches it is what makes the rest of the install go fast and look right.
Is Installation Different for New Construction vs. a Re-Side?
The spec doesn’t change — the sequencing does. New construction means working onto fresh sheathing and house wrap with nothing to remove, which usually means a faster, more predictable timeline and the chance to build rain-screen detailing behind window trim from the start. A re-side’s wildcard is what’s already there: moisture damage, outdated wrap, or sheathing that needs attention before anything new goes up. We inspect for that before quoting a firm timeline on a re-side, because guessing at it upfront just means a worse surprise later.
Project Snapshot
What a typical single-story install looks like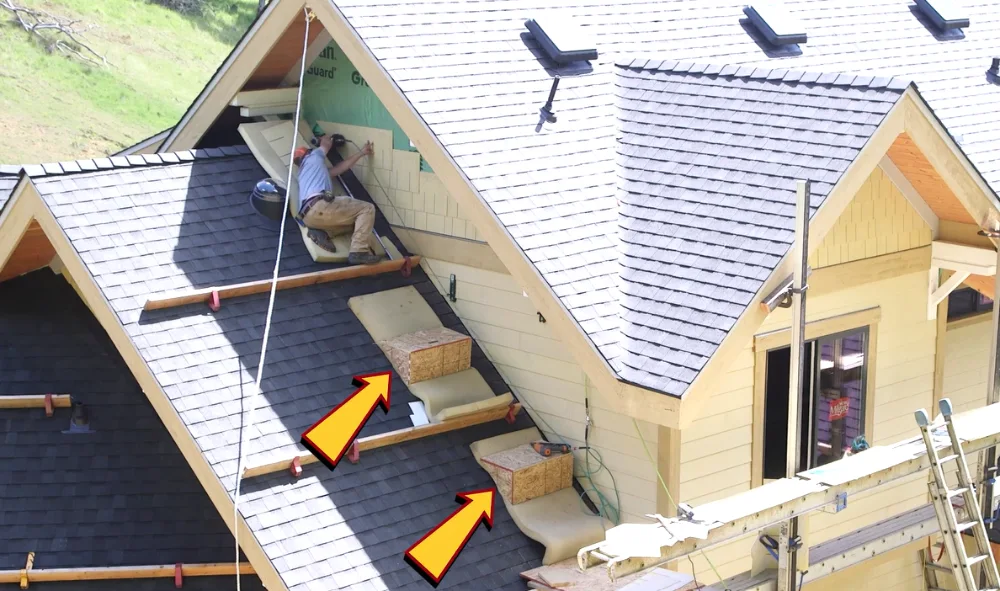
How a Full Installation Actually Progresses
From the first stud line to the final walkthrough.
Wall Prep & Stud Marking
Framing checked, high nails hammered flat, every stud line marked before anything goes up.
Trim & Flashing First
Corner trim, window trim, and penetration flashing installed before a single piece of siding.
Course-by-Course Installation
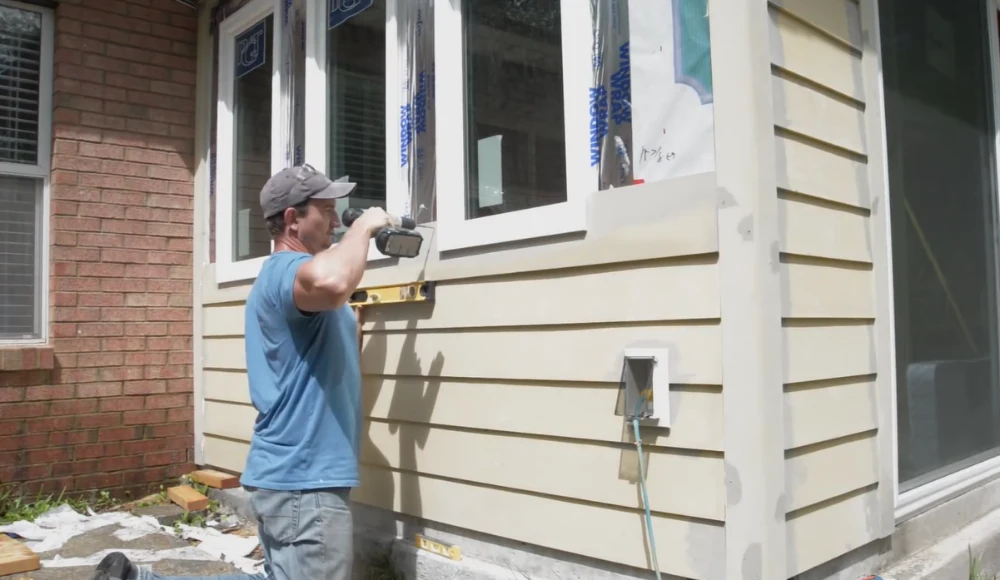
Correct clearances, blind-nailing depth, and expansion gaps checked as each course goes up, not just at the end.
Butt Joints Flashed, Not Caulked
Concealed flashing behind every field joint instead of exposed caulk that eventually fails.
Final Walkthrough
We check every course with you before calling the job finished — not just the wall you’ll see from the street.
The 10-Point Installation Standard
This is the exact spec every job gets checked against, board by board.
Repair, Replacement, or New Installation?
If you’re not sure which page you actually need, here’s the short version.
You’re Reading the Right Page If…
You’re building new, adding an addition, or your current siding has no fiber cement on it yet and you’re installing for the first time.
You Might Actually Need a Different Page
Isolated damage on existing fiber cement is usually a repair. Widespread failure on an old install is usually a full replacement.
Working with a builder or GC? We coordinate directly around framing and window installation schedules rather than working as a standalone call-when-ready sub. If you’re evaluating siding subs for a new build, ask about clearance and nailing standards specifically — it’s the fastest way to tell whether a crew will protect your schedule and your callback rate.
Real Questions We Get Before an Install
“Our builder already picked a siding sub. How do we know if they’re any good?”
Ask them directly which regional formulation they’re using (HZ10 for Texas) and whether they blind-nail or face-nail HardiePlank — the answer should depend on the product profile, not be the same for everything. A sub who answers those without hesitation is usually one who actually knows the spec, not just the brand name.
“Can you start before our permit is fully approved?”
No, and we wouldn’t want to even if it were technically possible — starting siding work ahead of permit approval creates a real risk of having to redo work if the city requires changes. We handle the permit process as part of scheduling so this isn’t something you have to manage or wait on separately.
“What happens if it rains partway through the install?”
Fiber cement installation pauses in active rain — wet-cutting and fastening both suffer, and a rushed course in bad weather is exactly the kind of shortcut that causes problems years later. We build weather flexibility into the schedule rather than pushing through conditions that compromise the work.
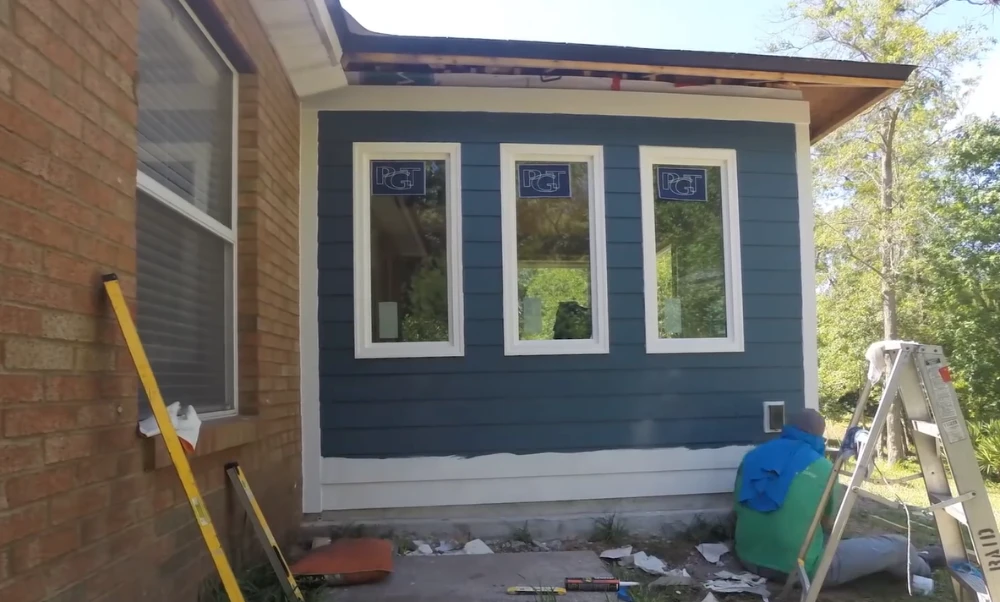
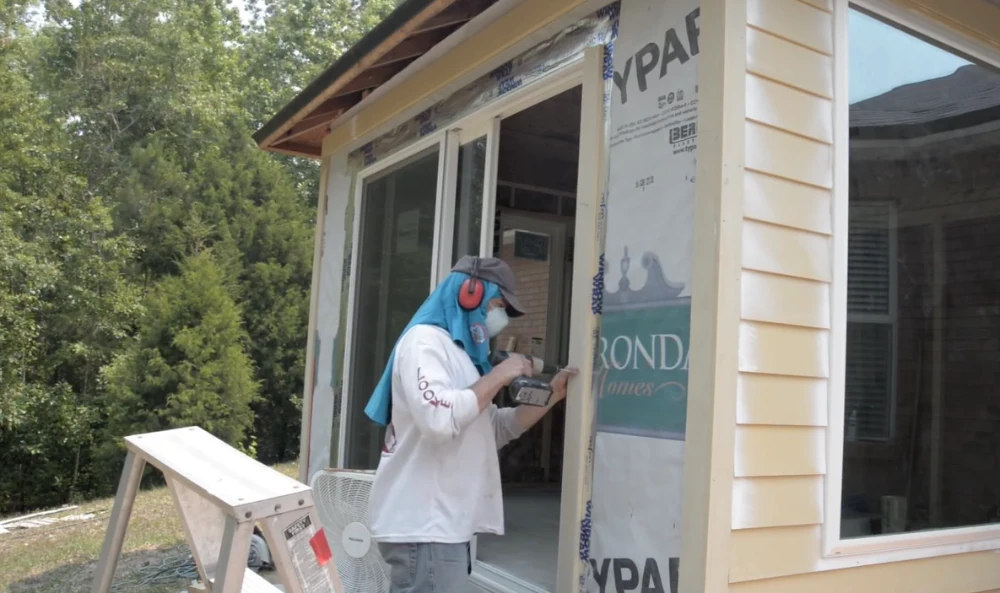
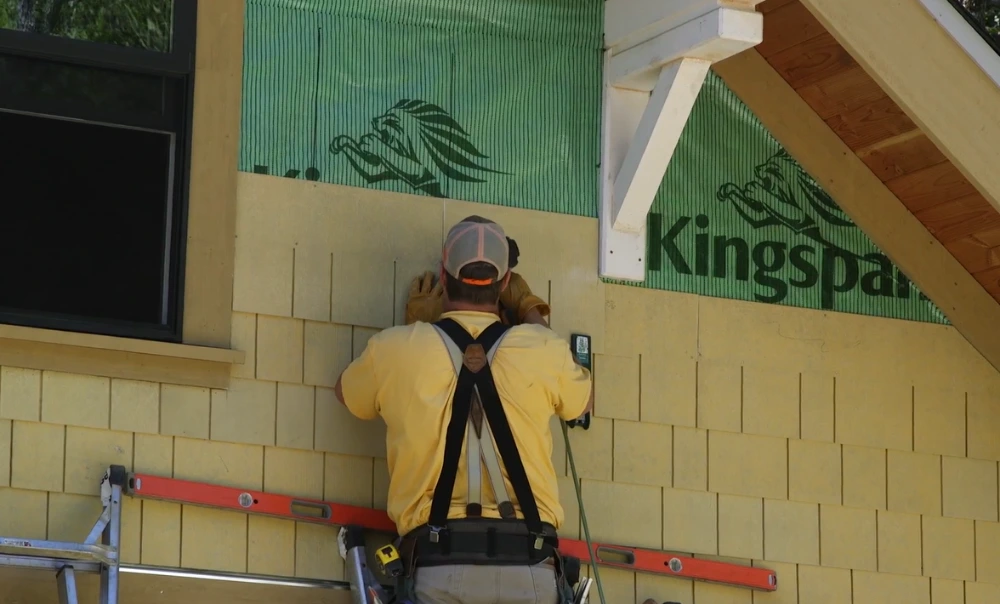
Recent Installations
Frequently Asked Questions
How long does a full installation take?
For a typical single-story home (roughly 2,000–2,500 sq ft of siding), plan on 5–8 working days, weather permitting. Larger or multi-story homes can run 2–3 weeks.
Do you install for new construction and builders?
Yes — we coordinate directly with builders and GCs, scheduling around framing and window installation rather than working as a standalone call.
What’s the difference between installation and replacement?
Installation is for new construction or a wall with no existing fiber cement. Replacement means removing old siding entirely first. If you already have fiber cement that’s failing, you likely want our replacement page instead.
What does installation cost?
Installed cost typically runs $7–$18 per square foot (materials and labor). See our full cost breakdown for a detailed range by project type, or we provide an exact written quote after an on-site walkthrough.
Do I need to be home during installation?
Not required for most of the job, but we’ll want to walk the final result with you, and we’re happy to check in throughout if you’d like updates.
Can you match an existing product line if I’m adding onto my home?
In most cases yes, though exact matching depends on what’s currently installed and how long it’s been exposed to sun. We’ll walk through options during the on-site inspection.
“Our builder’s original sub quoted us a week and a half faster than these guys. We asked why the difference and it turned out the faster quote was skipping half the clearance and flashing steps. Went with the slower, correct version. No regrets three years in.”
Get a Written Installation Quote
Free on-site walkthrough, manufacturer-spec installation, no vague estimates.
Call (888) 507-2627